Let’s find out by deploying Druva for backing up VMs and restoring between Nutanix NC2 and Nutanix on-premise cluster
What is Druva and what is Nutanix?
In a hybrid multicloud world it would be nice to have a solution that supports both, on-prem and public cloud workloads. Nutanix is the Hybrid Multicloud leader according to Gartner and Forrester. Druva on the other hand is the one of the leaders in cyber reciliency in the market today. So how these two vendors match up?

Druva is one of the most interesting SaaS based data backup solutions in the market, SaaS offering that makes on-prem and cloud backup very easy and without too much the hassle. At the same time Nutanix has one of the interesting hybrid multicloud platforms in the market that does the same for the infrastructure - 'making the infrastructure invisible'.

In this blog I will go through, how easy it is to setup Druva data protection for NC2 - later, in the next blog write I will go through how easy it is to restore VM from NC2 to on-prem Nutanix with Druva!
Druva’s solution for Enterprise workloads
It’s harder to describe what Druva does for on-prem backup, so it’s easier to describe it with one picture below:
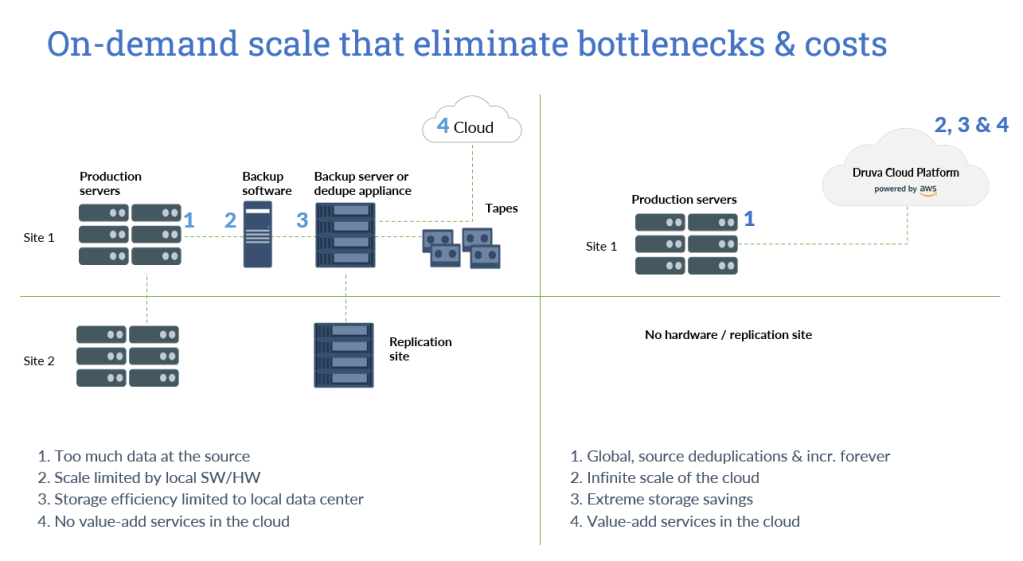
On the left there is legacy backup solution with backup software, backup server an/or appliance, tapes, possible replication site and offsite in the cloud.
On the right there is on-prem cluster with Druva’s Cloud Platform for data protection. No need for backup infra in the same scale anymore that we’ve used to, or build 3-2-1, because it comes default factor in Druva. With Druva you will always get three copies of your backup in different datacenters in Druva cloud platform. You can even use multiple geolocations if they are closer to your datacenters and you can use CloudCache if you need local backup also. See how Druva tackles the 3-2-1 rule: What is The 3-2-1 Backup Rule? | Druva
Because Nutanix works in the same way, no matter if you are running it on-prem or in the public cloud, I wanted to try out Druva – how Druva handles these two clusters, that are physically running totally different geolocations and other one is running on-prem and other cluster in the Azure.
My Test Enviroment
- Nutanix cluster running on Azure NC2 cluster in East US
- Nutanix cluster running on very old Supermicro HW, still works though! NX-3050! 😀
- Druva Data Reciliency Cloud with Enterprise Workloads enabled
Note that in this test I’ve already deployed Druva for my on-prem Nutanix cluster and I will do the same for the NC2 cluster. The deployment is basically the same, because Nutanix running on the public cloud works in the same way as my on-prem one does – the public cloud cluster just runs on Azure AN36 bare metal HW. This is just a very brief overview, how easy it is to setup Druva backup, no matter where your Nutanix clusters are! I don’t take any responsibility about this configuration and one should always remember that there might be egress/ingress fees etc.
Prequisites
Prequisites for deploying Backup Proxy on Nutanix:
Prerequisites for backup proxy deployment – Druva Documentation
Firewall rules for Nutanix AHV:
Firewall rules for Nutanix AHV – Druva Documentation
Deploying Druva for NC2
I’m going to deploy this as simple as possible and you will see how easy it actually is!
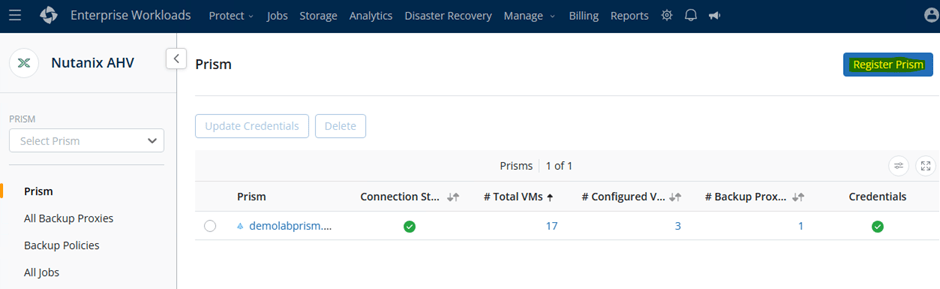
- Login to Druva console and go to the Enterprise Workloads –> Nutanix AHV

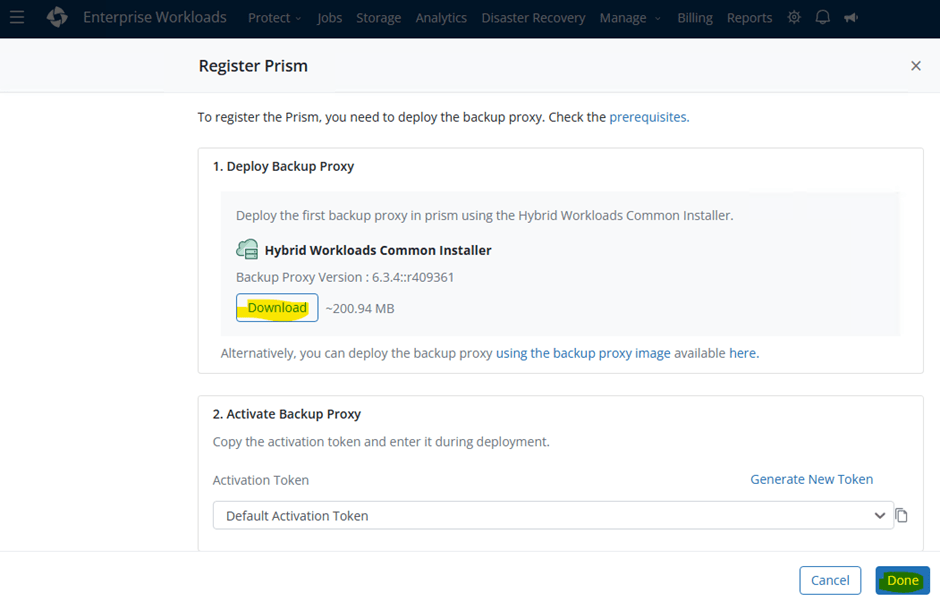
2. Register your Prism Element or PC:
3. Click ‘Download’ and Hybrid Workloads Common installer MSI package gets downloaded:
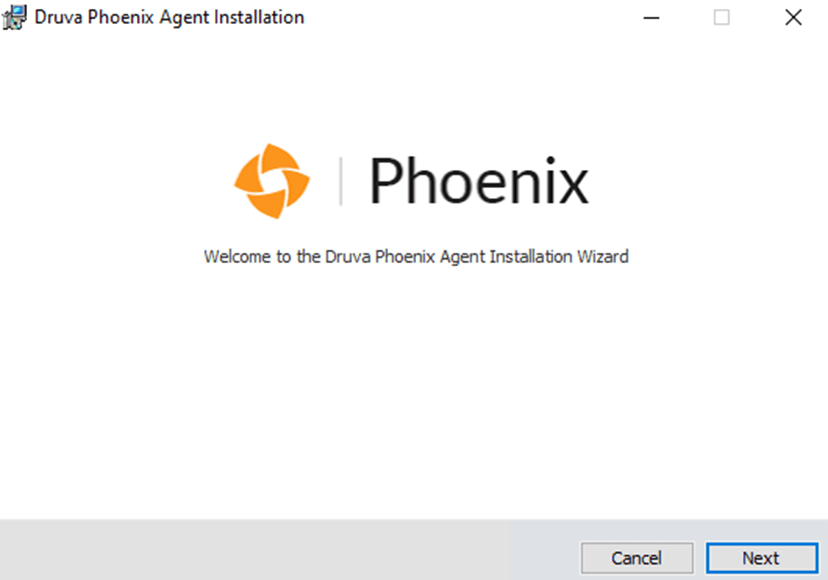
4. Launch Druva Phoenix Agent Installation Wizard
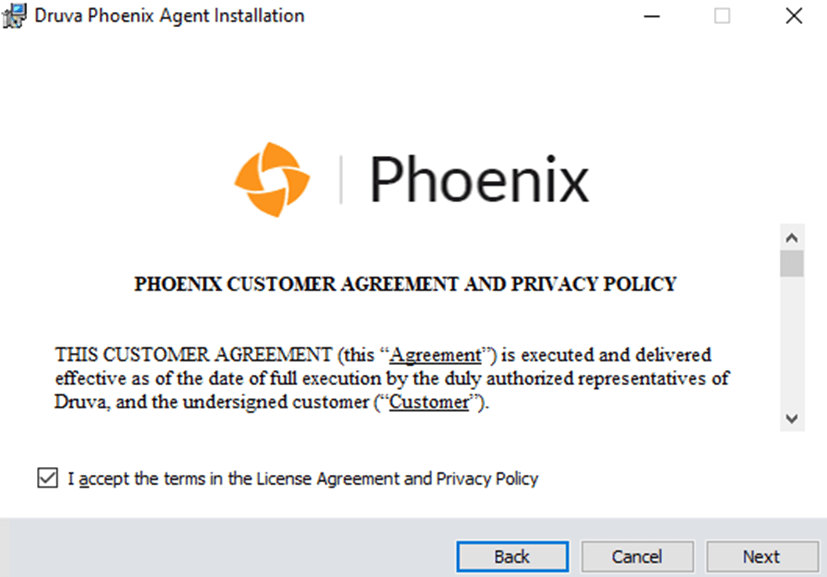
5. License agreement and privacy policy
6. Use LOCALSYSTEM and default location or change them if you want or need:

7. The installation starts:
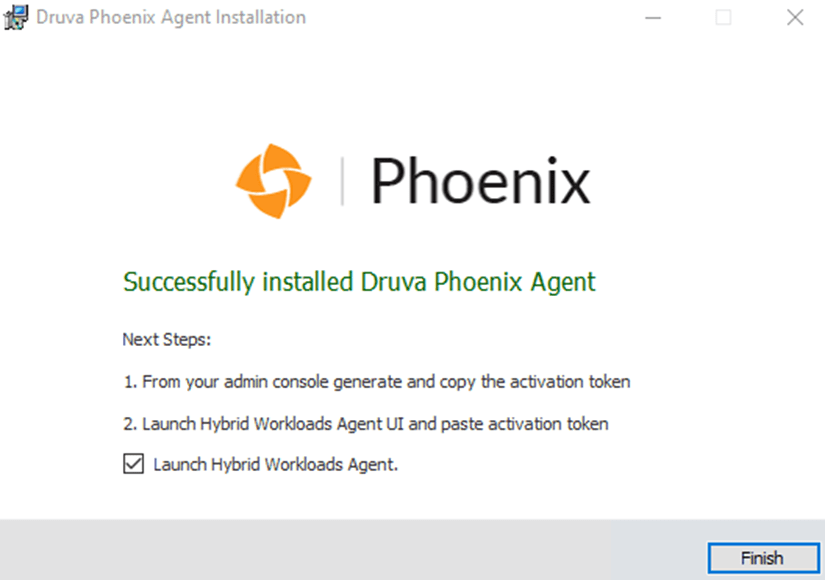
8. Druva Phoenix agent installed – this is the app that actually deploys the proxy to Nutanix cluster – this is quite new for the Nutanix workloads in Druva, you needed to create the Druva proxy VM manually and add OVA to VM earlier.
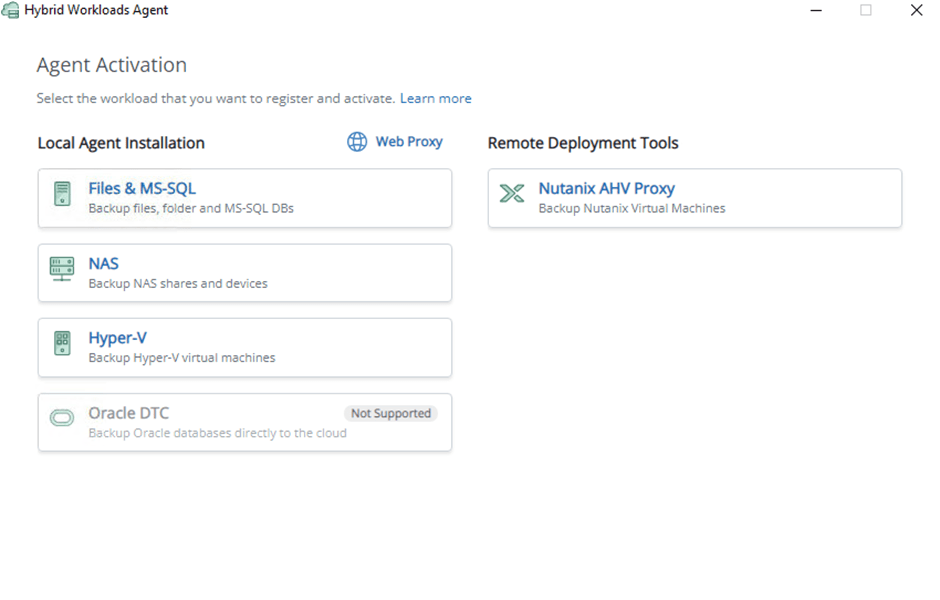
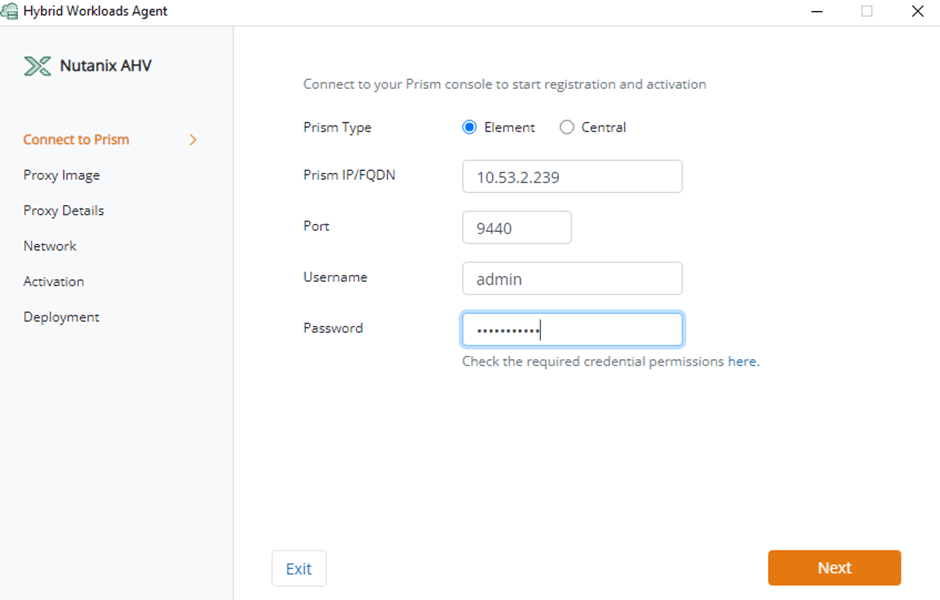
9. Start the Hybrid Workload Agent and select ‘Nutanix AHV Proxy’:
10. Connect to Prism – either Element or Central – I actually connected the proxy to Central but forgot to take a new screenshot 😅:
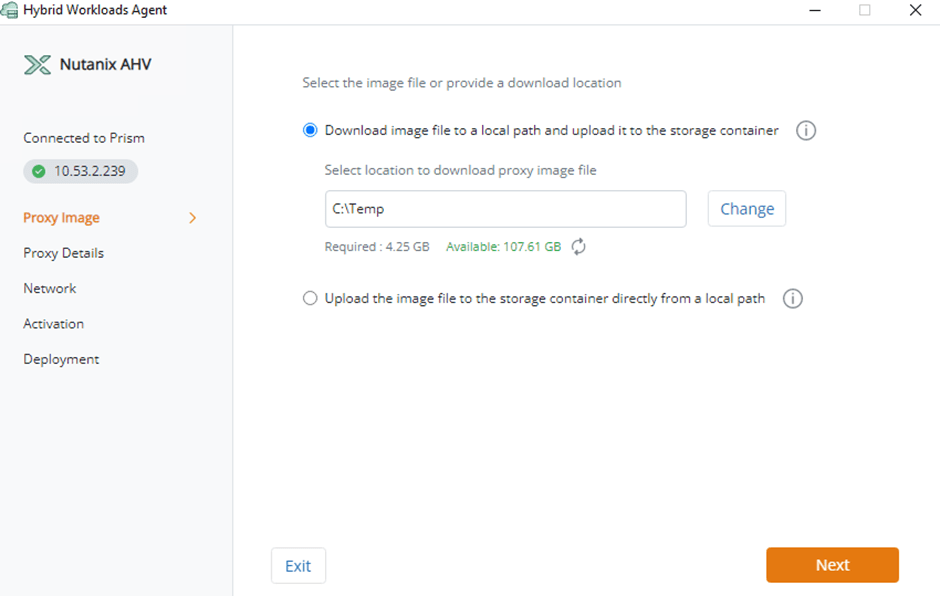
11. Proxy Image – if you downloaded it separately you can upload that one or you can download a new image file from Druva:
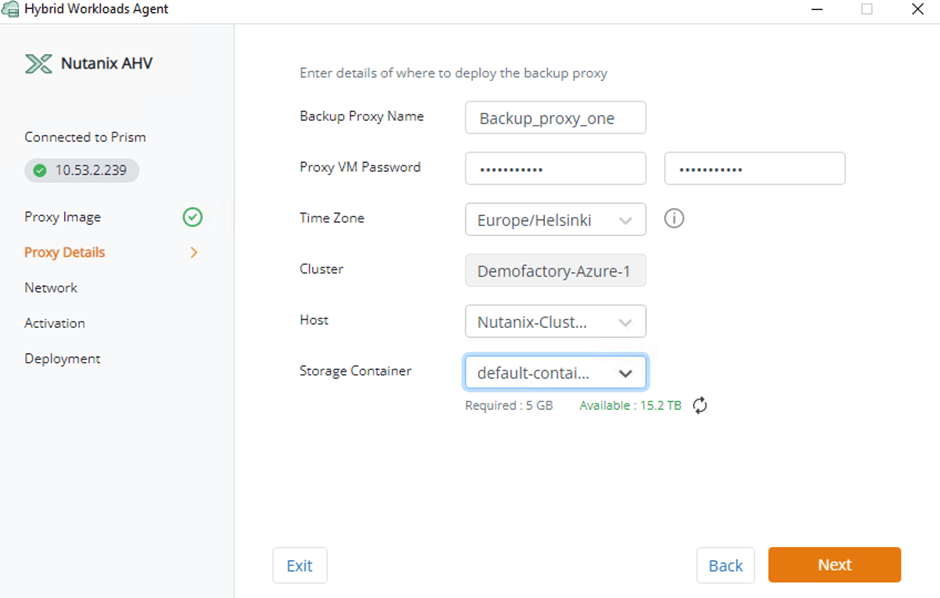
12. Proxy Details: Enter your Druva Proxy details and where you want to deploy it:
13. Hop back to Druva’s console, where you downloaded the Hybrid Workloads Common installer and create activation token for your proxy – this is needed so you can authenticate that the proxy you are deploying, belongs to your Druva Cloud tenant:
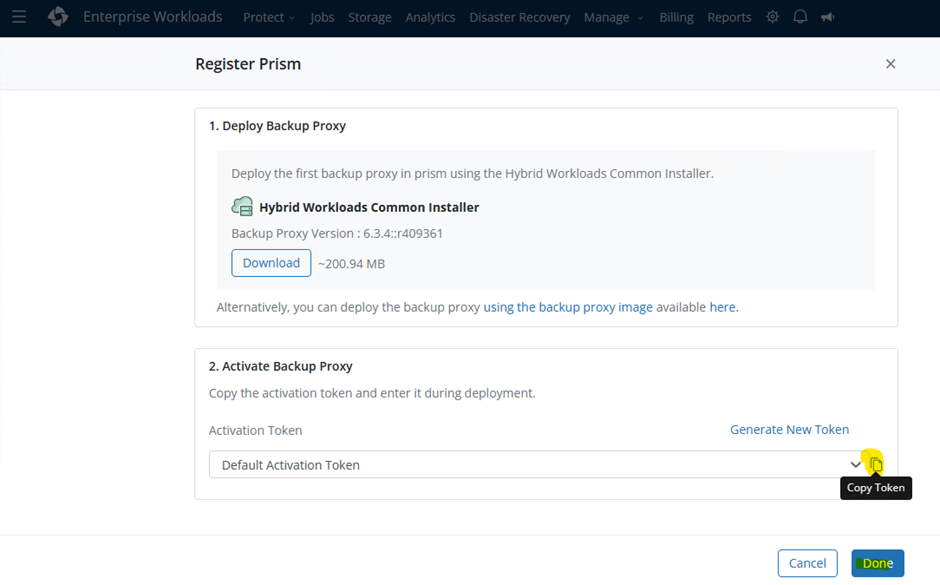
14. Copy & paste the activation token:
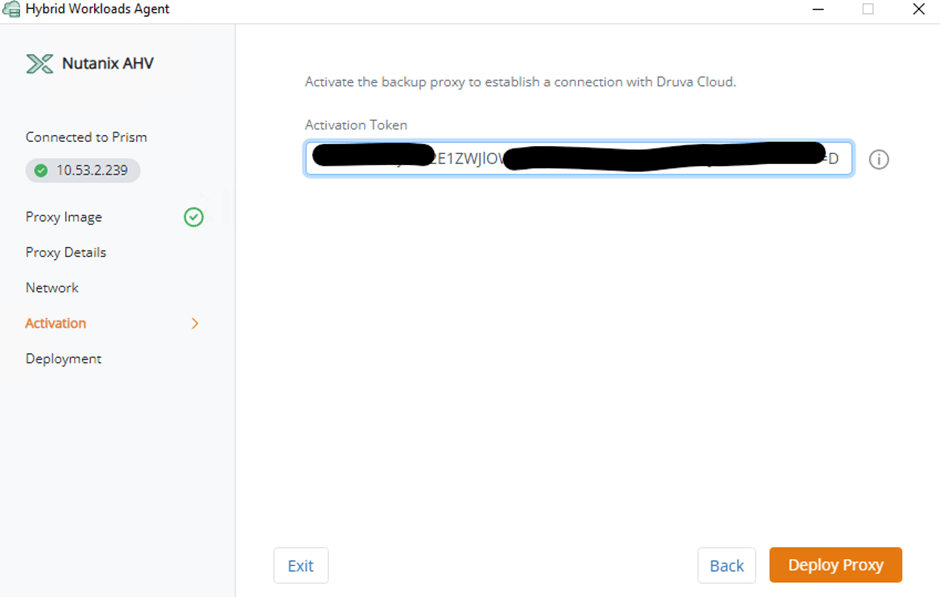
15. ‘Deploy proxy”
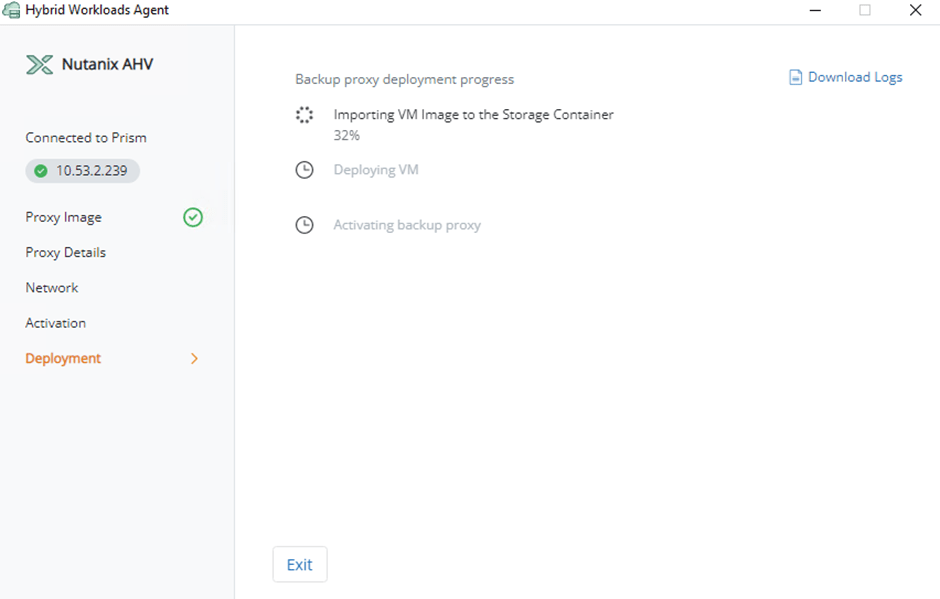
16. If everything goes smoothly, it should look like this:
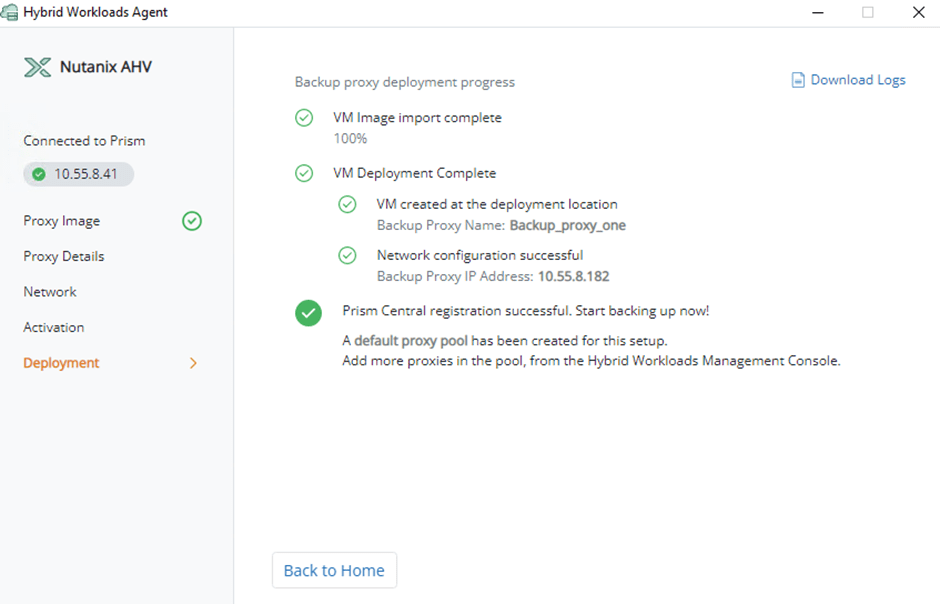
17. You are able to backup your VMs now! 👌👌Backup proxy deployed to Nutanix running on Azure NC2!

Backup Policies
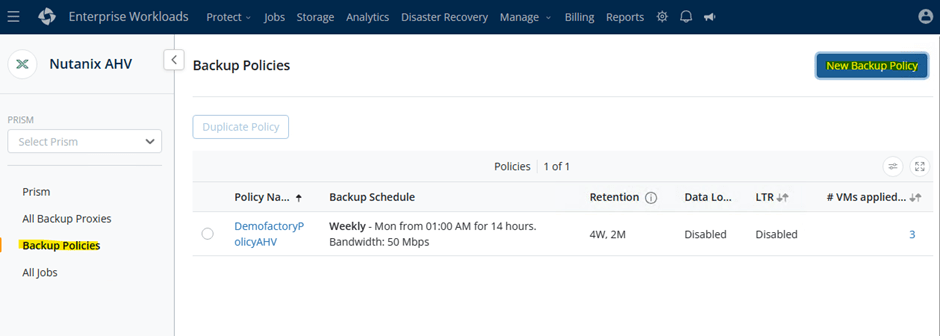
18. We can move to Druva console now and setup backup policies and select VMs that we want to protect

19. Create a new Backup Policy by selecting ‘New Backup Policy’:
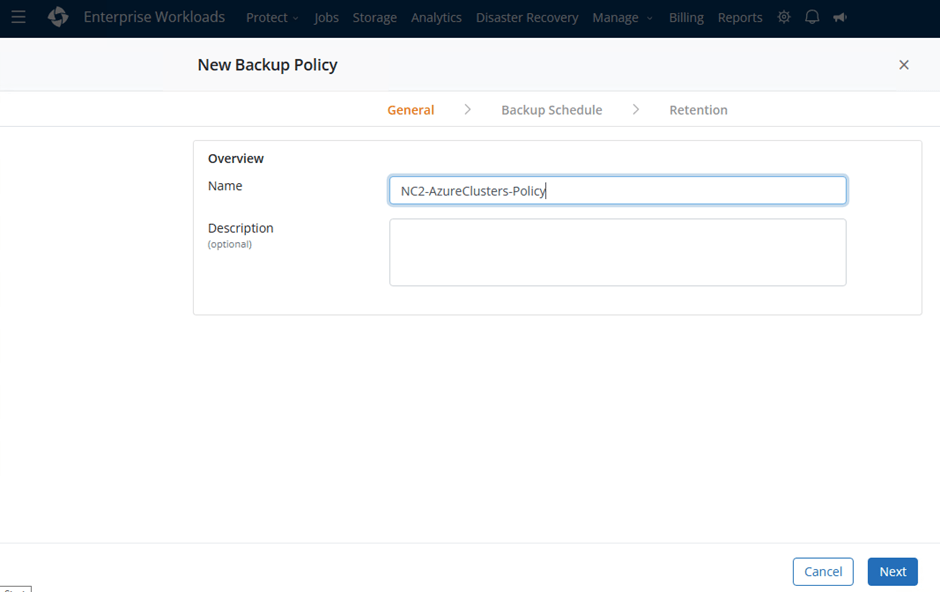
20. Name your policy – you can have multiple, so name it well:
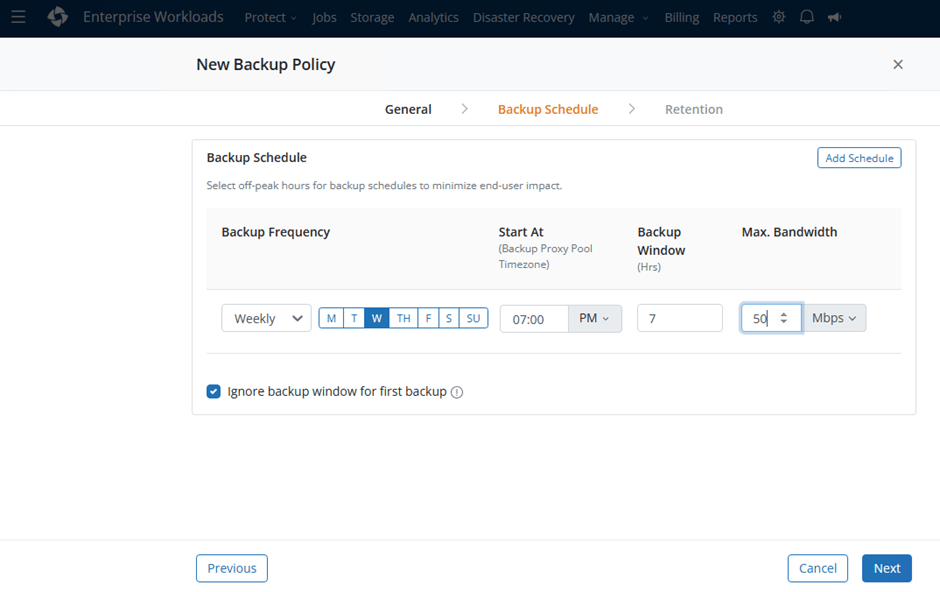
21. Set backup frequency, backup window, bandwidth, and ignore the backup window for first backup – because it might take longer:
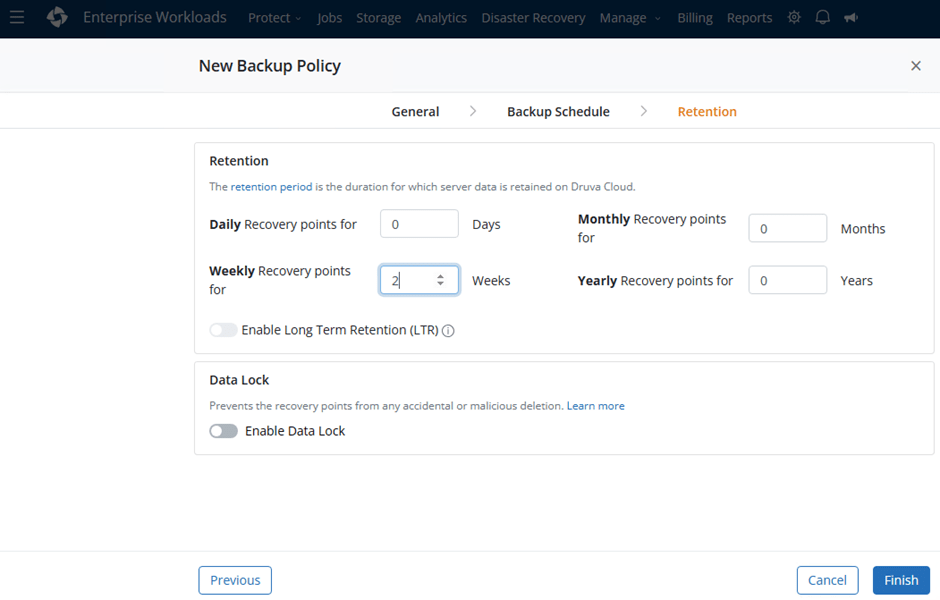
22. Set retention policy and if needed Long Term Retention and Data Lock are also possible options and then click ‘Finish’:
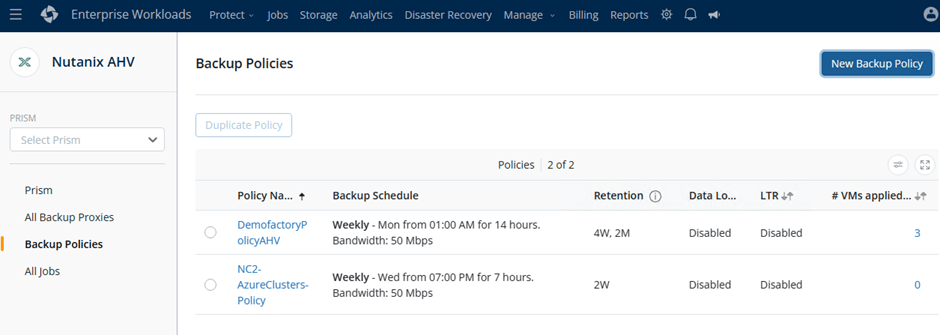
23. You’ve created a new backup policy for NC2 workloads:
Select workloads that you want to backup
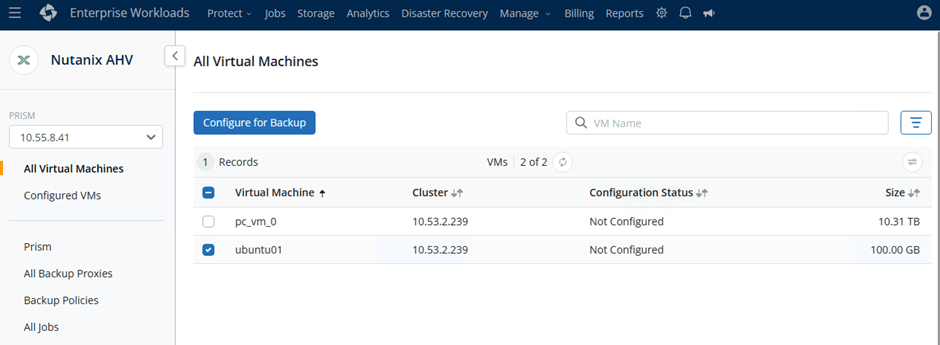
24. I only have two VMs on the NC2 at the moment and I’ll configure the ubuntu01 VM for backup :
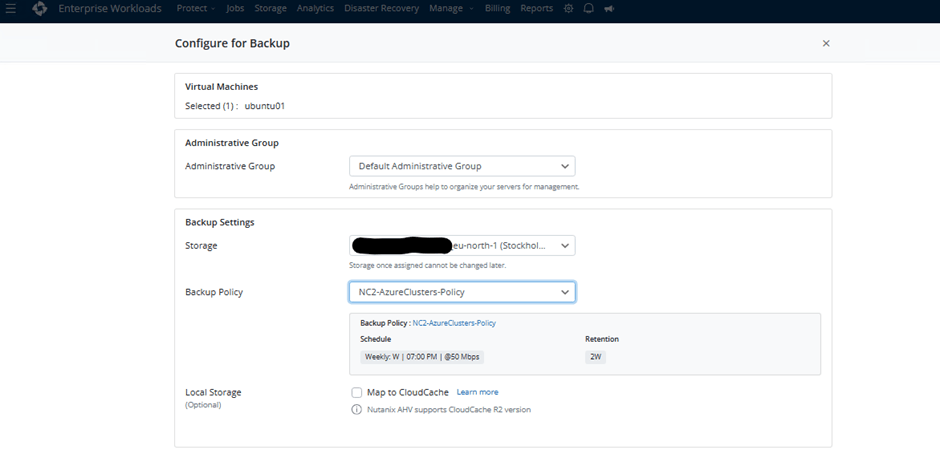
25. Select the admin group, who can manage this backup and backup settings
- Storage in the Druva Cloud (AWS): Maybe one that is closest your cluster?
- Backup policy: The one that we created “NC2-AzureClusters-Policy”
- Local Storage: If you have CloudCache, you can map the VM here
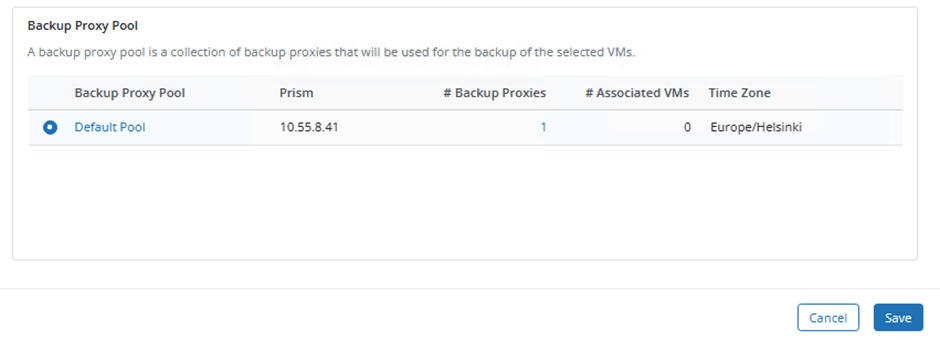
26. Select Proxy pool and click ‘Save’ – in this case I only have one deployed in the pool, but you can deploy multiple proxies if needed for load balancing – please see Create backup proxy pool – Druva Documentation.
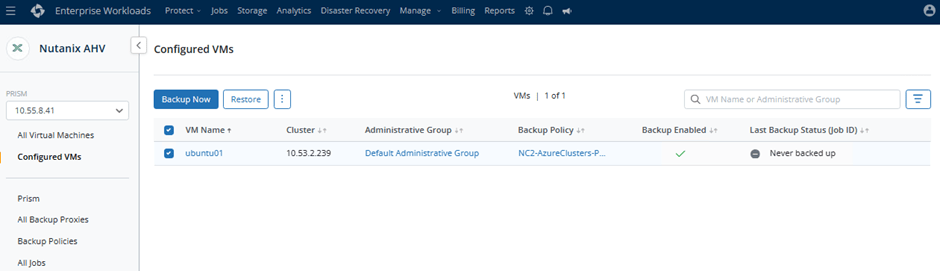
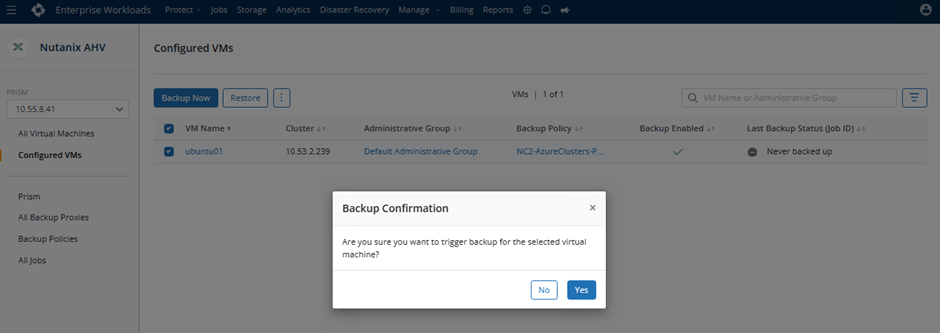
27. We have one configured VM on our proxy that is running on NC2:
28. Let’s start the backup by clicking ‘Backup Now’ –> ‘Yes’
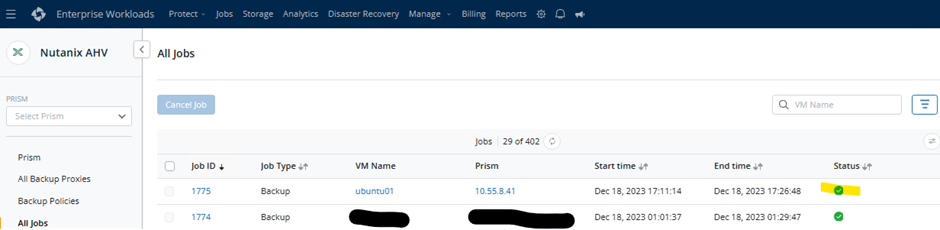
29. You can see the backup status from the ‘All Jobs’ view:
We can see that the backup was successful and the initial full backup from NC2 to Druva Cloud took 15minutes a and 34seconds (remember that we set the Max.bandwidth to 50 Mbps and the size of the VM is 100GB)
30. And you’re done! You have successfully backup your VM that is running on Nutanix NC2! 🎉🥂💪😃 There was no muscles used in this exercise, because Nutanix NC2 was deployed in the Azure and Druva is a SaaS solution!
Links
For more detailed information about how to backup and restore Nutanix AHV virtual machines, can be found here:
Backup and Restore Nutanix AHV Virtual Machines – Druva Documentation
What’s next?
In the next blog write I will go through how to restore VM that is running on Nutanix Azure NC2 and it will be restored to on-prem Nutanix! No need for complicated network settings etc., just setup, protect and restore!
Update: Restoring VM is now available here: Easiest way to protect Nutanix NC2 and on-prem clusters with Druva SaaS Data Reciliency Cloud? Part 2 – restore!
